How to Improve Your Google PageSpeed Score

[ad_1]
Your Google PageSpeed score says a lot about your site’s performance. A low score indicates slow loading times and a poor user experience, so you’ll want to take the necessary steps to improve it.
Fortunately, the process is easier than you might think. Using PageSpeed Insights, you can analyze your site’s performance and get a full report on what you’re doing wrong (and how to fix it). Moreover, you get to see exactly how fast your page loads.
In this article, we’ll show you why your PageSpeed score matters. Then, we’ll walk you through a few effective steps to improve it, and recommend some essential tools. Let’s get to it!
Why Your Google PageSpeed Score Matters
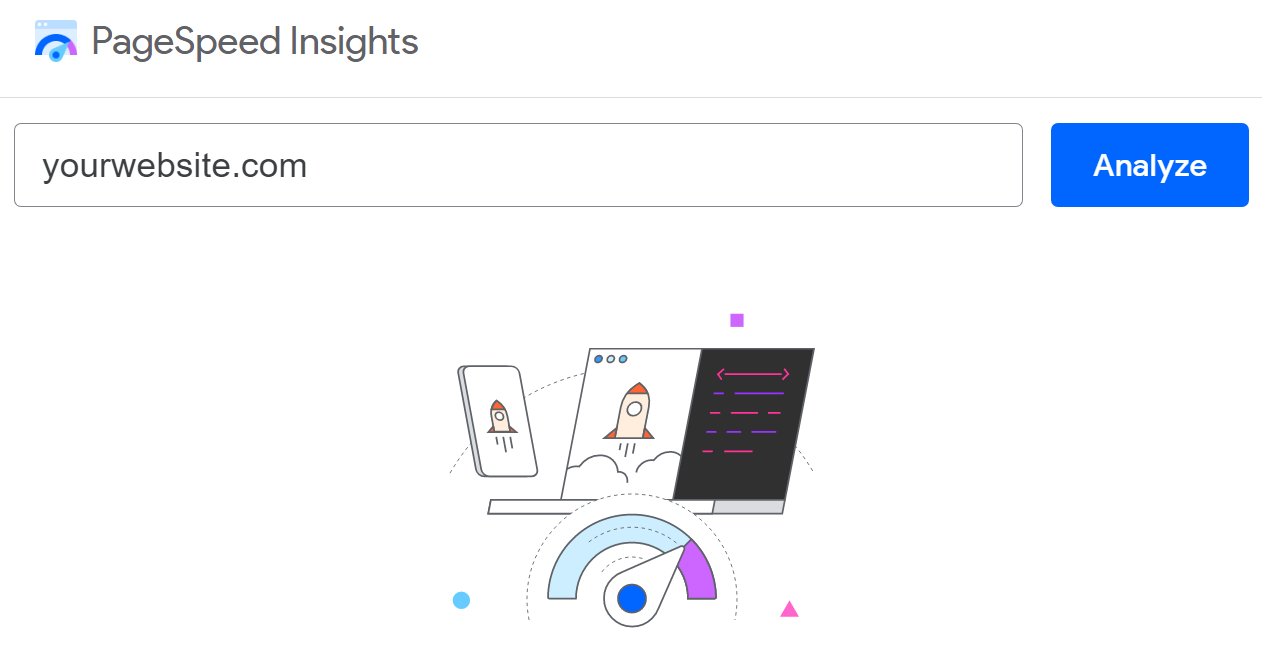
PageSpeed Insights is a free tool by Google that enables you to measure your website’s performance on both mobile and desktop devices. You can use the service for free. All you need to do is enter the URL of the page you want to test:
The tool then analyzes your website and returns a score from 0 to 100 for both devices. A high score (90-100) indicates that your site is optimized and provides an excellent user experience:
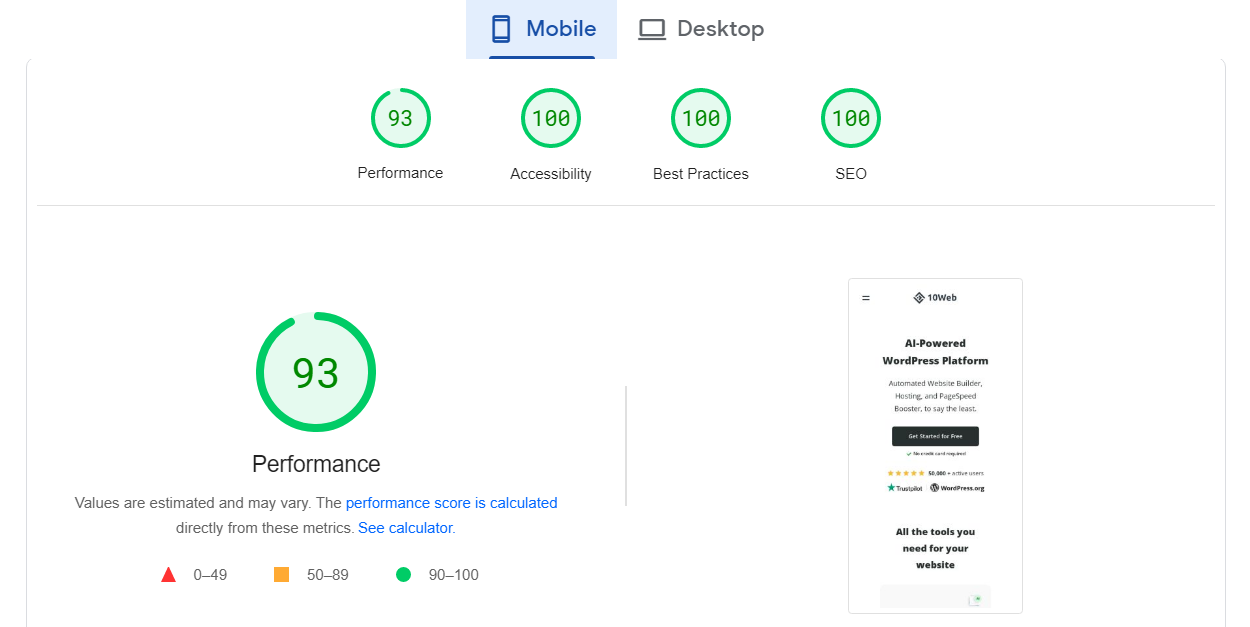
Meanwhile, a poor score (0-49) shows that your site suffers from slow loading times and other performance issues.
However, PageSpeed Insights doesn’t just return a performance score. The tool also enables you to analyze your Core Web Vitals as well as other areas of your site, including website accessibility and Search Engine Optimization (SEO):
In many ways, PageSpeed Insights is similar to other site testing tools. However, it offers more in-depth reports than most other platforms, and it’s free to use.
Monitoring your site’s performance can help you ensure fast loading times. Your site speed can affect several other things, including:
- User experience. Fast-loading websites provide a better user experience, keeping visitors engaged and reducing bounce rates. Meanwhile, a slow website can frustrate users, driving them away from your site.
- Search engine rankings. Google has confirmed that site speed is a ranking factor in its search algorithms. Fast websites are likely to rank higher in Search Engine Results Pages (SERPs), leading to increased visibility and organic traffic.
- Conversion rates. A fast-loading website can lead to higher conversion rates. Visitors are more likely to take action (such as making a purchase or signing up for a newsletter) if they can navigate your site without any issues.
PageSpeed Insights is not the only platform that measures website performance or gives you insights into how to improve it. However, it’s possibly the easiest to use. Plus, since it’s developed by Google, it’s more likely to recommend best practices that may improve your search engine rankings.
How to Improve Your Google PageSpeed Score (4 Methods)
Using WordPress makes it much easier to improve your PageSpeed score. With WordPress, you get access to a lot of plugins that can help you optimize your site.
In this section, we’ll look at a few effective ways to boost your PageSpeed score. We’ll also show you how to implement them in WordPress.
1. Minify HTML, CSS, and JavaScript
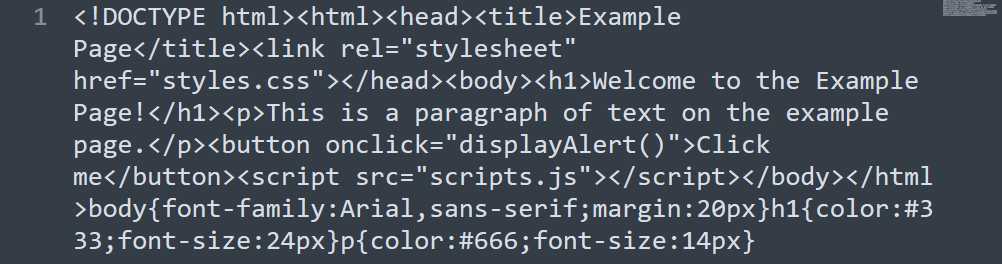
Minification is the process of removing unnecessary characters (such as spaces, comments, and line breaks) from your website’s code. If you do it right, minification shouldn’t have any effect on your site’s appearance or functionality. It will just make it a bit more difficult for humans to read the code, as you can see in this example:
The point of minification is to reduce file sizes in HTML, CSS, and JavaScript files. Most WordPress websites have many such files, which means minification can have a significant impact on performance.Although you can minify these files manually, it’s a time-consuming process. Therefore, you may want to use a plugin like 10Web Booster to automate this task:
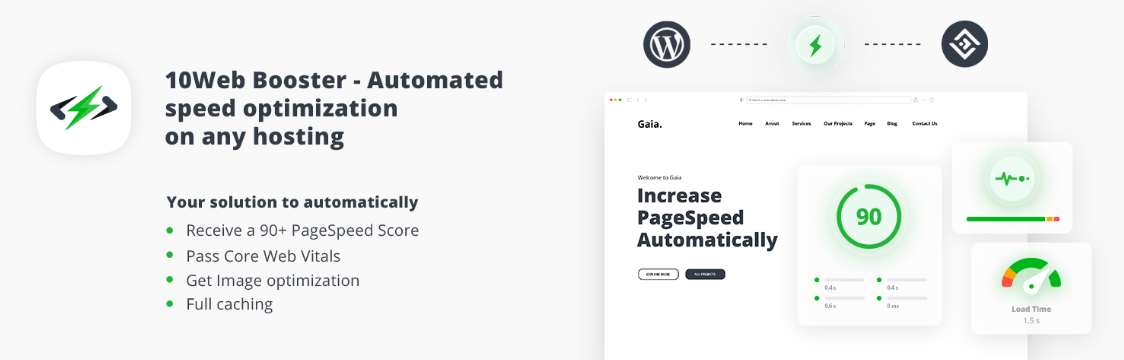
10Web Booster can automatically minify and optimize HTML, CSS, and JavaScript files in WordPress. The plugin can also help you implement other optimization measures, such as eliminating render-blocking resources and converting images to the WebP format (we’ll discuss these steps in the next sections).
2. Enable Browser Caching
Browser caching allows your website’s resources (such as images, stylesheets, and scripts) to be stored on a user’s device after their first visit. This way, the browser won’t need to load as much data on future visits, which means your site will load faster.
However, for this to work, you’ll need to configure your website to use caching. You can do this manually in WordPress by editing the .htaccess core file. This file governs how your site interacts with its server and you can use it to configure caching, set up redirection rules, whitelist IP addresses, and much more.
Since editing core files can be a little risky, we recommend using a plugin instead. There are a lot of WordPress caching plugins to choose from, including:
Caching is one of the most critical optimizations you can make for your website. It helps provide a much better user experience for repeat visitors, which may lead to more repeat purchases!
3. Eliminate Render-Blocking Resources
Render-blocking resources are files (such as CSS or JavaScript) that need to load before your website can be displayed. However, if these resources take too long to load, users might not stick around until the page is ready.
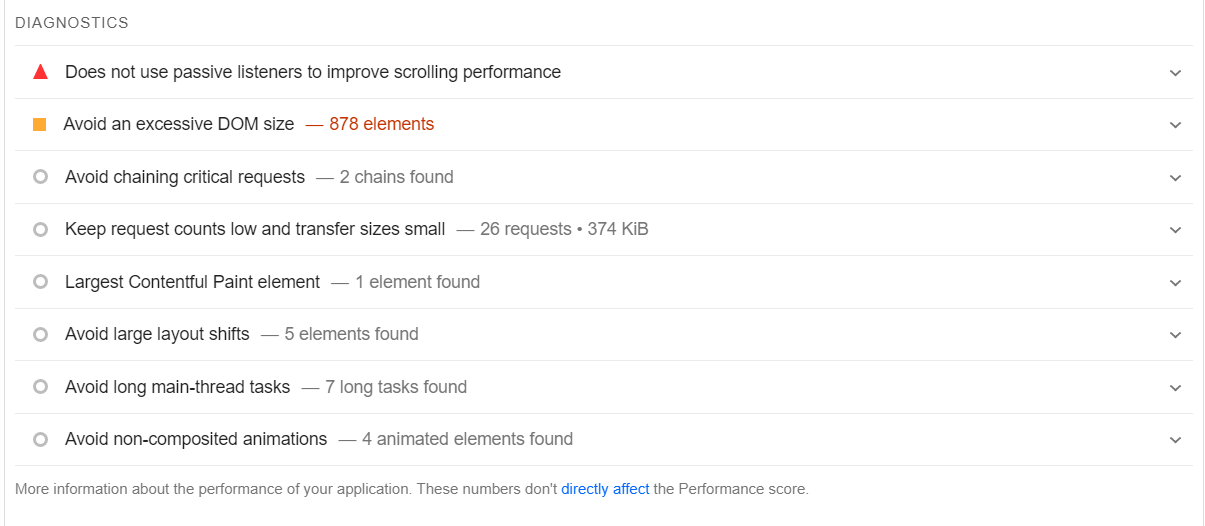
There are several ways to eliminate render-blocking resources in WordPress. If you pay attention to your PageSpeed Insights report, you’ll see that it tells you exactly what files you need to eliminate or defer:
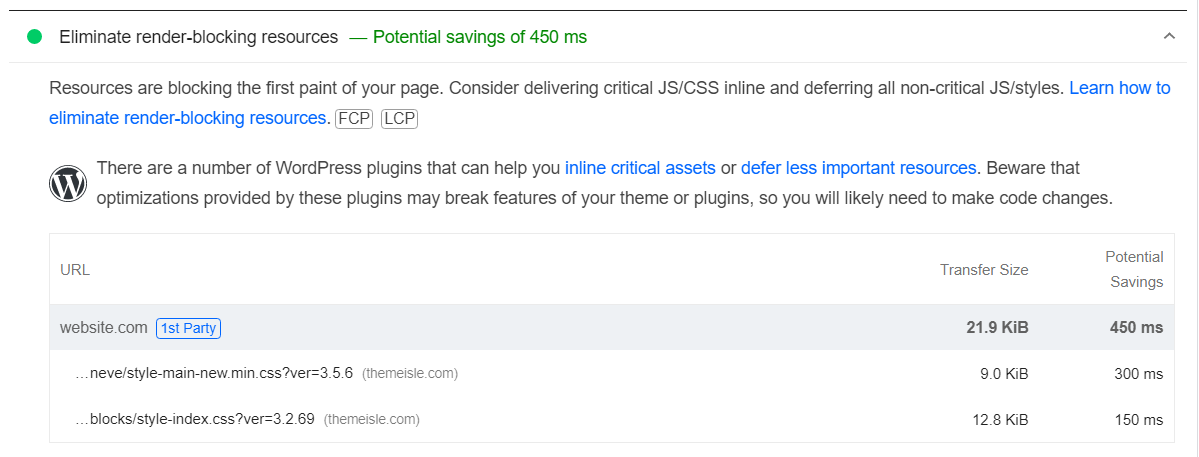
We say “defer” because that’s a valid alternative when dealing with render-blocking resources. If the file is important (such as a script your site uses), you can’t delete it. What you can do is configure it so that it loads after the rest of your site’s components.
You can implement these changes manually by editing your site’s code. However, the easier approach is to use a plugin that defers render-blocking scripts.
Some of the plugins we’ve mentioned so far can help you do this, including 10Web Booster, LiteSpeed Cache, and WP Super Cache. If you’re already using one of them, it should automatically defer non-critical resources on your site.
4. Use the WebP Image Format
WebP is a modern image format that offers superior compression without sacrificing image quality. It combines the best of both JPEG (lossy compression) and PNG (lossless compression) formats, resulting in smaller file sizes that load faster on your website.
WebP’s superior compression translates to smaller file sizes and faster loading times. If you have a lot of images on your site, you should be able to see a huge improvement in performance when you switch to WebP.
WordPress supports WebP out of the box (since version 5.8), which means you can upload and embed WebP images exactly as with JPEGs, PNGs, and other image formats.
If you’re not sure how to convert existing images to WebP, we recommend using a plugin such as Converter for Media. This tool will automatically convert images in your library to WebP:

It’s important to note that although the vast majority of web browsers support the WebP format, some users might be unable to see these images. Typically, this is because they’re using an outdated browser. Unfortunately, this is out of your control, so the best thing you can do is recommend they update their browser (for their own good!).
PageSpeed Insights is one of the best tools you can use to improve your site’s performance. You can run a free test to see the PageSpeed score of any page on your site. The service will tell you how long it takes to load and provide several recommendations on what to do to improve performance, user experience, and even accessibility.
Hopefully this guide will help you improve your WordPress site’s PageSpeed score! But do you have any questions about how to improve your Google PageSpeed score that weren’t answered? Or other tips you’d like to share? Let us know in the comments section below!
[ad_2]
Source link