How to Create an Affiliate Product Box (No Coding Required)

[ad_1]
Do you want to create an affiliate product box in WordPress?
A product box allows you to showcase your affiliate products in a more attractive and eye-catching manner. It can capture your user’s attention and increase the chances of them clicking on your affiliate links.
In this article, we will show you how to easily create an affiliate product box in WordPress.

Why Create an Affiliate Product Box in WordPress?
An affiliate product box is used by marketers on their WordPress websites to showcase and promote specific products to readers.
This box usually contains a product title, images, description, and a call to action (CTA) to promote clicks and purchases.

It is a popular affiliate marketing strategy that can boost sales, increase brand exposure, and save time and resources.
You can easily add an affiliate product box to a blog post to attract potential customers and earn a commission on any resulting sales.
That being said, let’s see how you can easily create an affiliate product box in WordPress without using any code.
- Method 1: Create an Affiliate Product Box Using Pretty Links
- Method 2: Create an Affiliate Product Box in the Block Editor (Free)
- Method 3: Create a Product Box For Affiliate Landing Pages Using SeedProd
Method 1: Create an Affiliate Product Box Using Pretty Links
You can easily create a product affiliate box using Pretty Links. It is the best affiliate marketing tool that makes it super easy to create and manage affiliate links on your WordPress website.
First, you need to install and activate the Pretty Links plugin. For more instructions, please see our beginner’s guide on how to install a WordPress plugin.
Note: Pretty Links also has a free version. However, you will have to purchase the pro version to use the Product Displays addon.
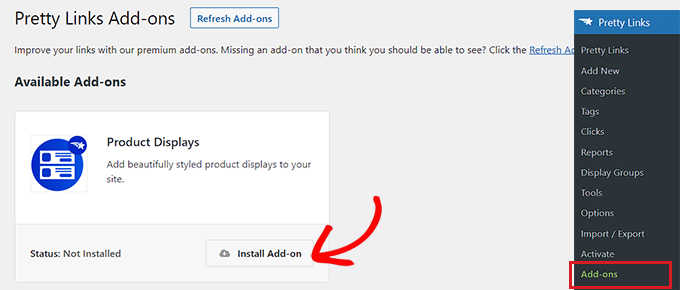
Upon activation, visit the Pretty Links » Add-ons page from the WordPress admin sidebar.
From here, simply install and activate the ‘Product Displays’ addon by clicking on the ‘Install Add-on’ box button.
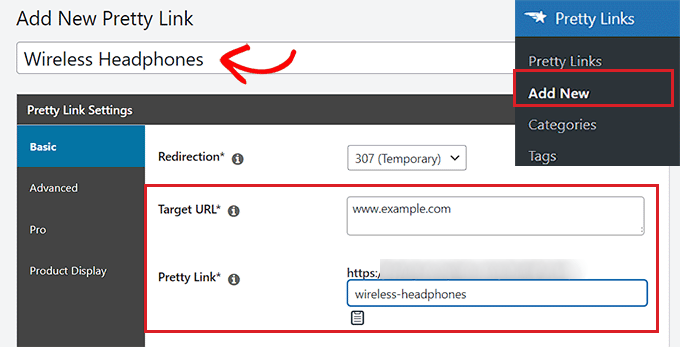
Once the addon has been activated, just head over to the Pretty Links » Add New page to start creating an affiliate link.
First, you will have to type the affiliate product name into the ‘Add Title’ field at the top. This title will be displayed as a heading in your product affiliate box.
After that, go ahead and type the affiliate URL into the ‘Target URL’ box.
Next, type the link slug into the ‘Pretty Link’ box. This will be the last part of the affiliate URL.
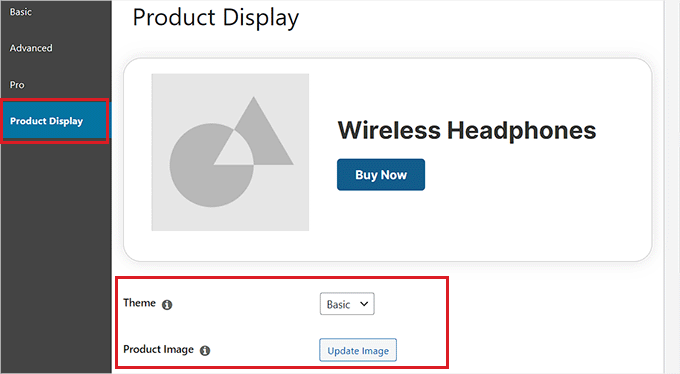
After that, simply switch to the ‘Product Display’ tab from the sidebar on the left.
Once you are there, you can start by choosing a theme for your product affiliate box from the ‘Theme’ dropdown menu.
Next, click on the ‘Update Image’ button to upload the product image from the WordPress media library or your computer.
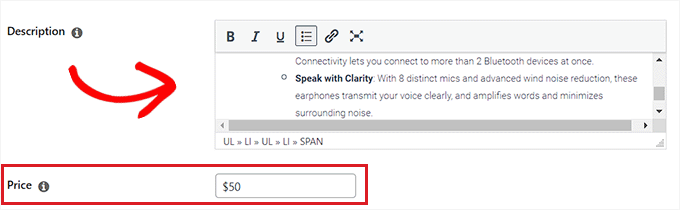
After you have done that, simply type the product description into the ‘Description’ box.
Next, go ahead and set a price for the product in the ‘Price’ box.
You can also add a badge at the top of your product affiliate box. For example, if the item you are promoting is currently on sale, then you can show this to customers.
To add a badge, simply type the text for it into the ‘Badge Text’ box.
After that, enter a CTA for the affiliate product into the ‘Primary Button Text’ box. This will be the text displayed on the button within the product affiliate box.
The affiliate link we created will be automatically added to the CTA button.
If you have written a review of the affiliate product on your blog, you can add the post’s URL to the ‘Review URL’ box. Readers who click on it will be taken to your review post.
To add a CTA for the review button, simply type some text in the ‘Review Button Text’ option.
Once you are done, click on the ‘Update’ or ‘Publish’ button at the top.
Add the Product Affiliate Box to a Page or Post
Now, you need to add the product affiliate box to a page or post on your WordPress website. For this tutorial, we will be adding the affiliate product box to a post.
First, you need to open up a new or existing post from the WordPress admin sidebar.
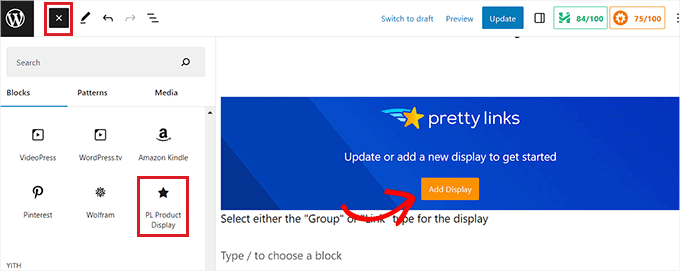
Next, click on the ‘Add Block’ (+) button at the top left corner to locate and add the PL Product Display block to the block editor.
After that, click on the ‘Add Display’ button.
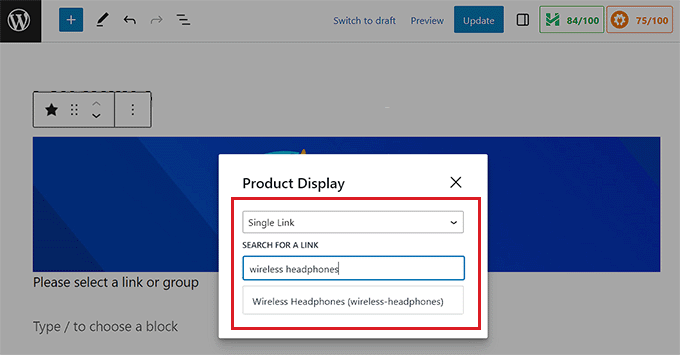
This will open up a ‘Product Display’ prompt. From here, simply choose the ‘Single Link’ option from the dropdown menu.
Once you do that, you will have to search for the affiliate link you created in the search box.
Upon clicking on the affiliate link, the product display box will be automatically added to your post or page.
Finally, click on the ‘Update’ or ‘Publish’ button to save your changes.
Now you can visit your website to check out the product affiliate box in action.
Method 2: Create an Affiliate Product Box in the Block Editor (Free)
For this method, we will show you how to easily create an affiliate product box using the block editor.
First, you need to open an existing or new post from the WordPress admin sidebar.
Once you are there, click on the Add Block ‘(+)’ button in the top-left corner to open the block menu. Next, simply look for and add the Columns block to the post.
Once you have done that, a list of column variations will be displayed. Simply click on the 50/50 variation to continue.
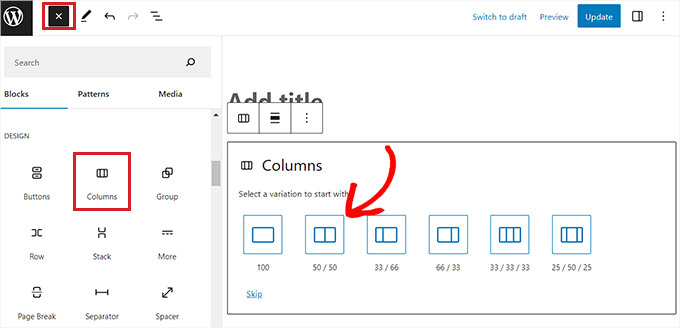
This will add two side-by-side blocks to your post.
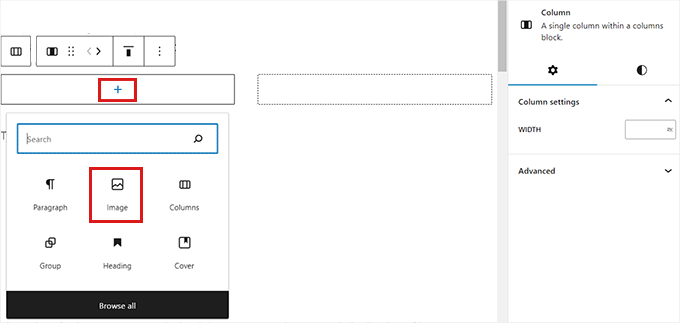
You can start by clicking on the ‘+’ button on the left side of the screen to open the block menu.
From here, simply choose the Image block and then add your affiliate product image from the WordPress media library.
After that, you need to click on the ‘+’ button in the right column.
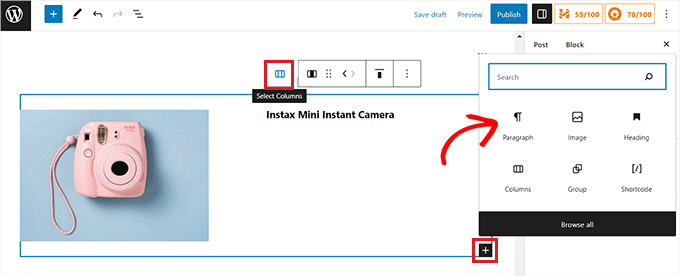
Once the block menu opens up, add the Heading block and type in the product title.
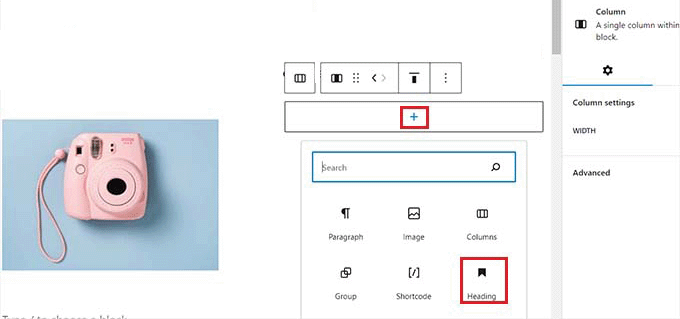
Next, simply click on the ‘Select Column’ icon from the block toolbar and then click on the ‘+’ button at the bottom. This will open up the block menu again.
From here, locate and add the Paragraph block and type a product description into the box.
Now, to complete your product affiliate box, you will have to add a CTA along with an affiliate link for the product.
To do that, you will need to exit the block editor.
Don’t forget to click on the ‘Save Draft’ button to save your changes before going back to the WordPress admin dashboard.
Create an Affiliate Link
There are many affiliate marketing tools that you can use to create and manage affiliate links on your WordPress website.
For this tutorial, we will be using Pretty Links, which is the best WordPress affiliate marketing plugin.
First, you need to install and activate the Pretty Links plugin. For more instructions, please see our beginner’s guide on how to install a WordPress plugin.
Upon activation, head to the Pretty Link » Add New page from the WordPress admin sidebar.
Once you are there, you have to type the product name in the ‘Add Title’ field.
Next, simply copy and paste your affiliate product URL into the ‘Target URL’ box.
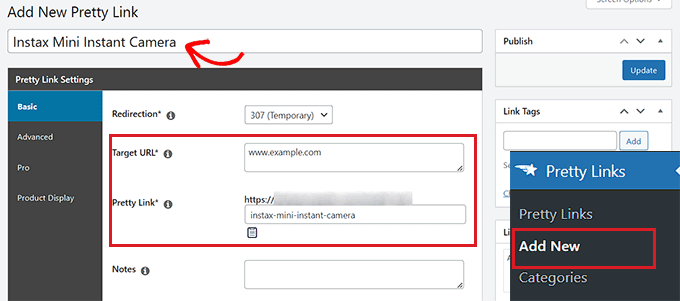
You can now enter a custom URL slug in the ‘Pretty Link’ box. Pretty Links will use this at the end of the affiliate URL that it creates for you.
Once you are done, click on the ‘Update’ button to generate your affiliate link.
You will now be redirected to the ‘Links’ page. From here, simply copy the affiliate link from the ‘Pretty Links’ column.

Add an Affiliate Link to the Product Box
Next, you need to head back to the blog post where you were creating the affiliate product box.
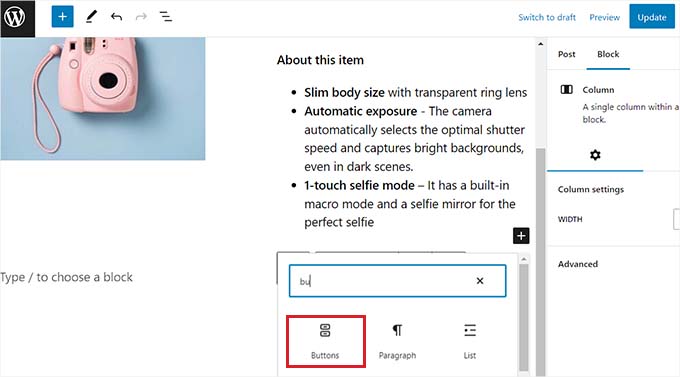
Once you are there, just click on the right column of your Columns block to open up the block toolbar, followed by the ‘Select Columns’ button. This will open the block menu.
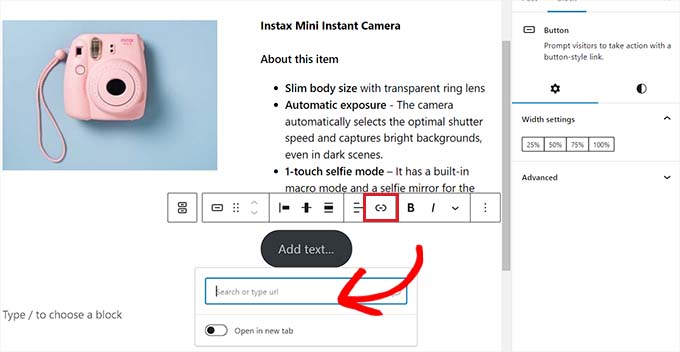
Next, simply add the Buttons block.
To add a link, click on the ‘Link’ icon in the ‘Buttons’ block toolbar. This will open a popup box where you must paste the affiliate link you copied from the Pretty Links page.
You can also search for the affiliate link using the search bar in the box.
Lastly, you will need to add some text to your CTA button.
Make sure to add an exciting phrase as your CTA to encourage customers to click on the link.
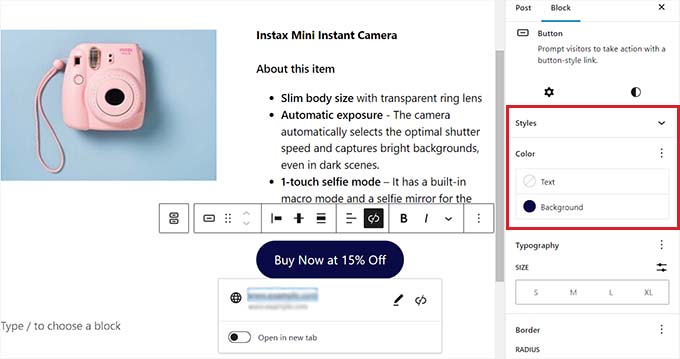
You can also style your affiliate product box using block settings. To do this, simply click on the ‘Styles’ icon in the Block Settings column.
From here, you can choose the background and text color of your affiliate product box using the Color Picker.
Finally, click on the ‘Publish’ or ‘Update’ button to save your changes.
This is how the affiliate product box looked on our demo website.

Method 3: Create a Product Box For Affiliate Landing Pages Using SeedProd
If you want to create an aesthetically-pleasing product box for custom affiliate landing pages, then this method is for you.
You can use SeedProd, which is the best WordPress page builder plugin on the market. It helps you create a visually-appealing website without any code.
First, you need to install and activate the SeedProd plugin. For more details, see our step-by-step guide on how to install a WordPress plugin.
Note: SeedProd also offers a free version. However, we will be using the premium version because it offers more design features.
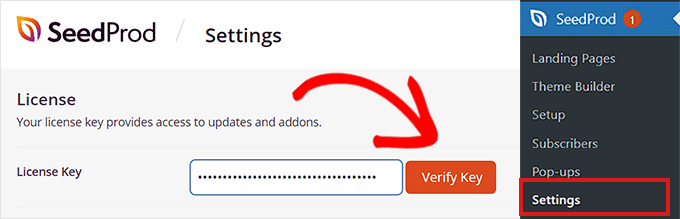
Upon activation, you must visit the SeedProd » Settings page to enter the plugin license key.
You can find this information in your account on the SeedProd website.
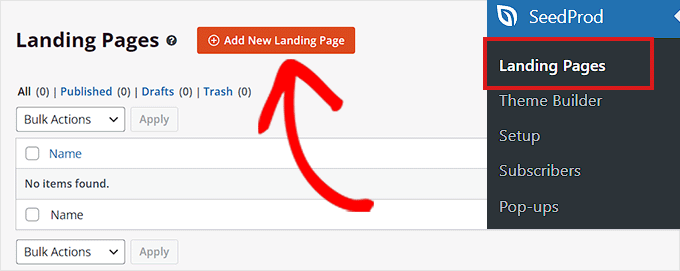
Next, simply head over to the SeedProd » Landing Pages section from the WordPress admin dashboard and click on the ‘Add New Landing Page’ button.
For this tutorial, we will be adding an affiliate product box to a landing page.
You will now be taken to the ‘Choose a New Page Template’ screen.
From here, you can choose any of the pre-made templates offered by SeedProd.
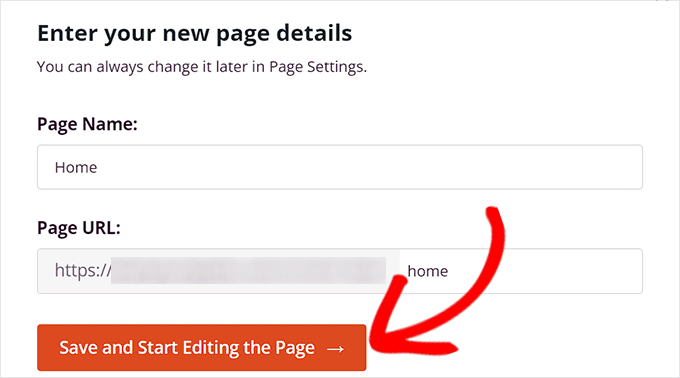
After you have made your choice, you will be asked to enter a page name and choose a URL. Go ahead and click on the ‘Save and Start Editing the Page’ button after entering the details.
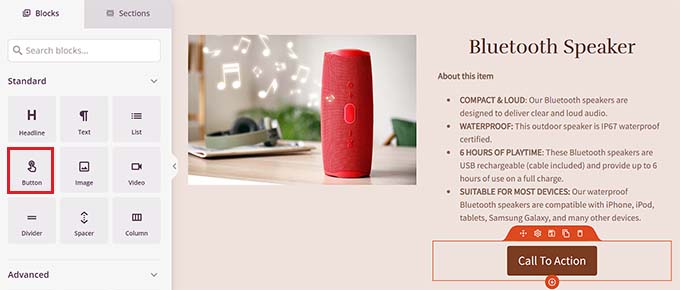
This will launch SeedProd’s drag-and-drop page builder.
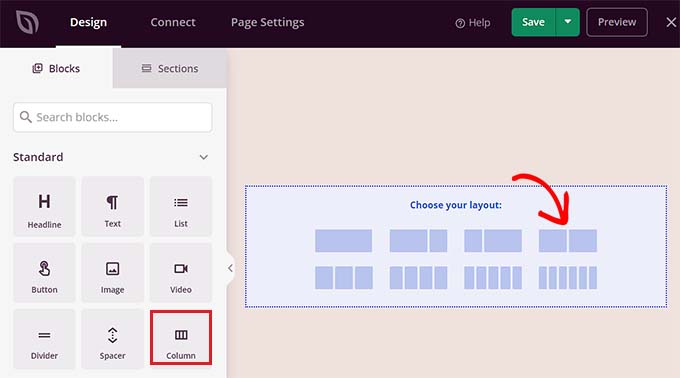
From here, find the Columns block in the left sidebar and drag it onto the design interface on the right.
Upon adding the block, you will be asked to choose a column layout. You need to simply click on the 50/50 variation to add two side-by-side blocks.
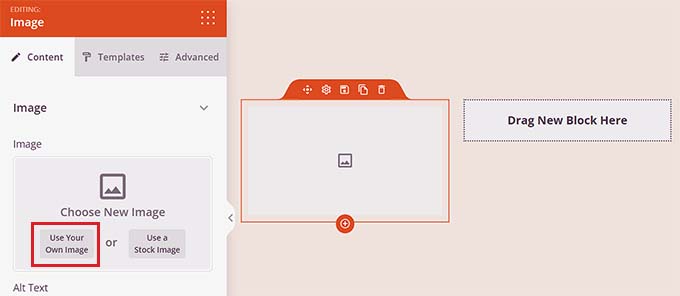
You can now start by dragging and dropping the Image block into the left column.
Next, click on the Image block to open up its block settings in the sidebar. From here, simply click on the ‘Use Your Own Image’ button to select the affiliate product image from the media library or upload it from your computer.
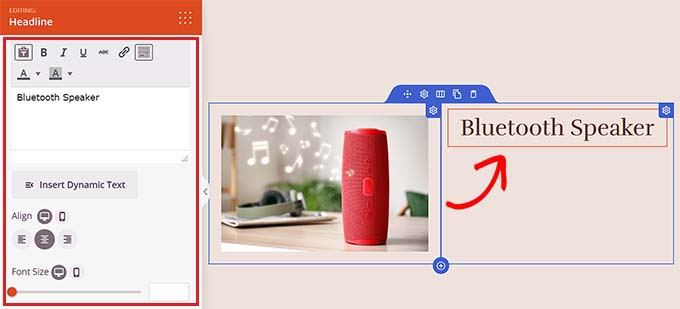
After that, just drag and drop the Heading block into the right column and add the affiliate product title.
You can adjust the alignment and font size using the settings in the left sidebar.
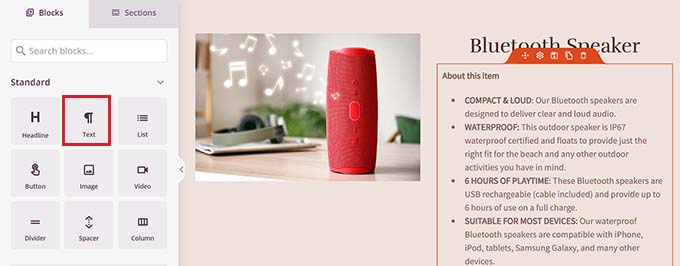
Once you have done that, you need to drag and drop the Text block under the product title. You can add a description for the affiliate product you are promoting.
After that, simply click on the ‘Save’ button to store your changes.
Now it is time for you to create an affiliate link.
Create an Affiliate Link
First, you need to install and activate the Pretty Links plugin. For more detailed instructions, please see our beginner’s guide on how to install a WordPress plugin.
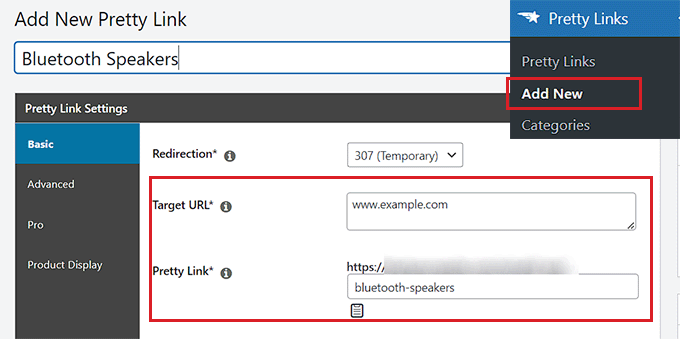
Upon activation, go to the Pretty Link » Add New page from the admin sidebar.
Here, you can start by typing the product name in the ‘Add Title’ field to make it easy to find the affiliate link. Simply enter the name of the affiliate company or the product itself.
Next, add the affiliate link next to the ‘Target URL’ option.
After that, type a slug into the ‘Pretty Link’ box. This slug will appear at the end of your affiliate link.
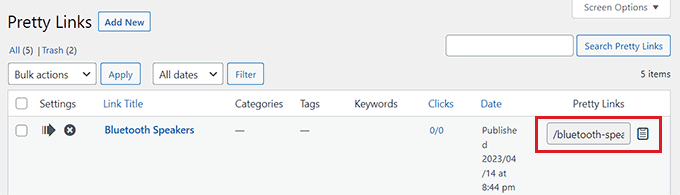
Finally, go ahead and click on the ‘Update’ button to generate the link.
You will now be redirected to the ‘Links’ page. From here, simply copy the affiliate link from the ‘Pretty Links’ column.
Add the Affiliate Link to the SeedProd Product Box
After copying the affiliate link, you need to open the SeedProd landing page where you are designing the affiliate product box.
Once you are there, simply drag and drop the Button block under the product description.
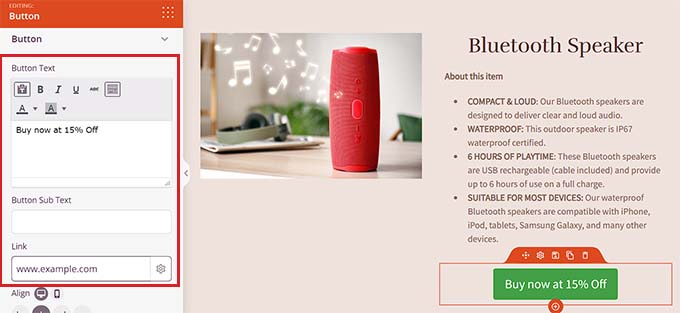
Next, you need to click on the button to open up its block settings in the left sidebar. Here, you must copy and paste the affiliate link into the ‘Link’ box.
After that, just enter some text for the CTA into the ‘Button Text’ box.
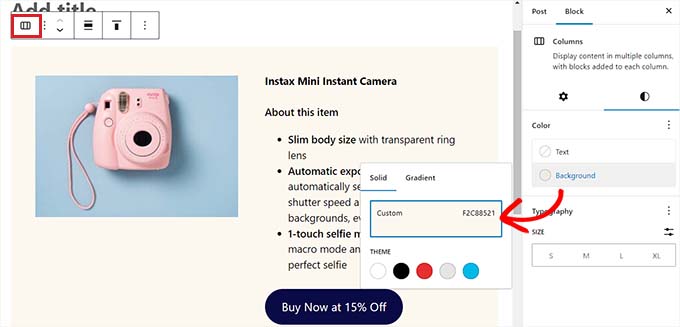
To style the affiliate product box, you need to select the Columns block to open up its settings in the left sidebar.
From here, you can choose a background color or even add a background image to your product box. You can also adjust the width and alignment of the Columns block according to your liking.
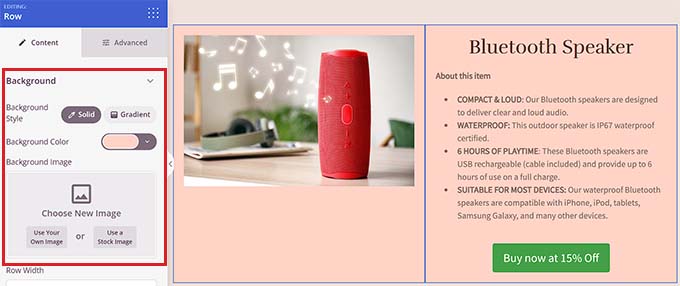
Once you are done, click on the ‘Save’ button to store your settings.
This is how the affiliate product box looked on our demo website.

We hope this article helped you learn how to add an affiliate product box in WordPress. You may also want to see our article on how to easily add an affiliate program in WooCommerce and our top picks for the best affiliate tracking and management software for WordPress.
If you liked this article, then please subscribe to our YouTube Channel for WordPress video tutorials. You can also find us on Twitter and Facebook.
The post How to Create an Affiliate Product Box (No Coding Required) first appeared on WPBeginner.
[ad_2]
Source link